 code stuff
Chapter 2
Sprites

Assets in Aseprite#
My program of choice for creating pixel art is Aseprite. It is a fantastic tool with a lot of features specifically geared towards pixel art and animation. If you don't have it yet, you can purchase it from the official website or from Steam.
In the root of the repository, you will find the file raw-assets/klotski_blocks.aseprite which contains the sprite we will be using in this chapter. You can open this file in Aseprite to view and edit the sprite.
Adding the Sprite to Our Project#
Butano expects a specific Bitamp format and a JSON metadata file for each sprite to be added to the graphics/ directory of the project. However, I have provided a Python script to automate the conversion process from a PNG sprite sheet to the required format, with the necessary metadata.
You can add your PNG sprite sheet to the sprites/ directory of your chapter, and any time you run make in the terminal, the script will automatically convert the PNG to the required format and place it in the graphics/ directory, which then can be used in the Butano project.
To add the sprite to our project, follow these steps:
- Open the Klotski Blocks Aseprite file located at raw-assets/klotski_blocks.aseprite
- You will see multiple frames in the timeline at the bottom. Each frame represents a different block in the Klotski puzzle.
- You can export as a Sprite Sheet by going to File > Export Sprite Sheet, or using the shortcut Ctrl + E (or Cmd + E on Mac).
- In the Export Sprite Sheet dialog, set the following options:
- Layout
- Sheet Type: By Columns (this is important because all sprites must be 1 tile wide and any number of rows tall)
- Constraints: None
- Output
- File: <chapter-directory>/sprites/klotski_blocks.png
- replace <chapter-directory> with the actual path to your chapter directory
- Make sure to set the file extension to .png
- Do not include any spaces or special characters in the file name. Only use letters and underscores (or numbers, as long as the file name does not start with a number).
- File: <chapter-directory>/sprites/klotski_blocks.png
- Click Export to generate the sprite sheet.
- Layout
- Now, when you run make in the terminal while in your chapter directory, the script will convert the PNG sprite sheet to the required Butano format and place it in the graphics/ directory. This also makes your sprite available for use in the Butano project.
Using the Sprite in Butano#
Now that we have our sprite in the correct format, we can use it in our Butano project!
It is time to open your code editor (IDE) of choice. In your IDE, open the folder of your chapter (e.g., chapter-1-getting-started/ if you are following along, or chapter-2-sprites/ for referencing this chapter's code). You should now see the hierarchy of the project in your IDE's file explorer.
Visual Studio Code#

Zed Editor#
Adding the Sprite to main.cpp#
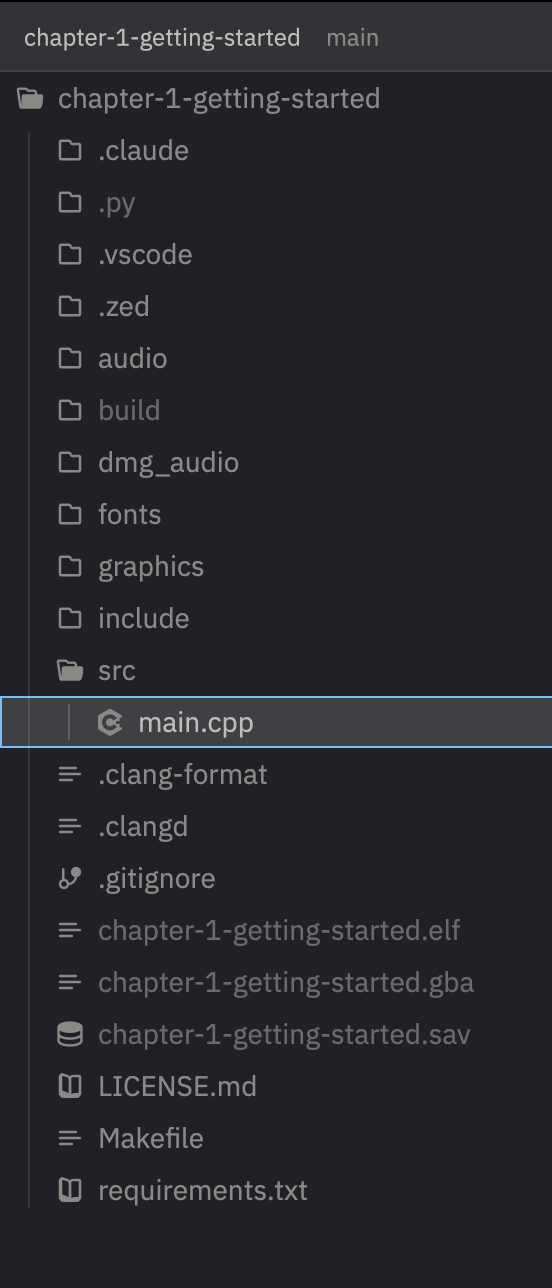
You will find the main.cpp file in the src/ directory of your chapter. For now, this is where we will be adding our code to use the sprite. In later chapters, the main.cpp file will act as an entrypoint rather than a master file with all our code, but for now, it is fine to keep everything here.
Before we move on, make sure you've run make in the terminal to ensure that the sprite has been converted and is available to Butano. You can confirm the Bitmap and JSON files exist in the graphics/ directory of your chapter. If not, please revisit the previous section to ensure the sprite was exported and converted correctly.
In main.cpp, we will need to import the sprite header file generated by Butano. At the top of the file, add the following include statement:
#include "bn_sprite_items_klotski_blocks.h"
This gives us access to the sprite data in this file. Inside the main() function, before the while (true) line, add the following code:
bn::sprite_item block_sprite_item = bn::sprite_items::klotski_blocks;
If your editor is configured correctly with the C++ language server, you should see an error here (see Chapter 1.1 for the editor FAQ). The error is saying that bn::sprite_item is an incomplete type. This is because we need to include the appropriate Butano header file for sprites. At the top of the file, add the following include statement:
#include "bn_sprite_item.h"
This will resolve the error! You'll notice this pattern a lot if you are new to writing code. Whenever you see an error about an incomplete type, it usually means you need to include the appropriate header file for that type.
Now, we can create a sprite instance using the sprite item we just created. Immediately below the line where we created the block_sprite_item, add the following code:
bn::sprite_ptr block_sprite = bn::sprite_items::klotski_blocks.create_sprite(0, 48);
Oh no! Another error! We know what to do here. We need to include the header file for bn::sprite_ptr. Add the following include statement in the usual place at the top of the file:
#include "bn_sprite_ptr.h"
At this point, we now have a pointer (aka ptr) which points to the sprite we created, using our Klotski blocks sprite item. The create_sprite(0, 48) function creates the sprite at the coordinates (0, 48) on the screen. In Butano, the origin (0, 0) is at the center of the screen. This is typical for graphics programming. The top left is (-120, -80) and the bottom right is (120, 80) for the GBA's 240x160 resolution. This means that (0, 48) is centered horizontally and 48 pixels down from the center vertically, so it is at the bottom-center of the screen.
You should now be able to build and then run your code!
make
make run
You should now see one of the Klotski blocks in the bottom-center of the screen!
Manipulating the Sprite#
Now that we have our sprite on the screen, let's manipulate it a bit. We will be moving the sprite and changing the frame it is displaying. Let's do this by showing all variations of the block in a loop.
Remove the two lines of code you added with the sprite item and sprite pointer. Instead, add the following code before the while (true) line in the main() function:
// To manage multiple pointers, we put them in a vector (a list)
bn::vector<bn::sprite_ptr, 5> block_list; // this is a list that can hold up to 5 sprite pointers

// Loop to create and configure each block sprite
for (int sprite_index = 0; sprite_index < block_list.max_size(); sprite_index++) {

    // I want to arrange the blocks in a row centered on the screen,
    // so I need to calculate the adjusted x position for each block.
    // The range is from `-(number_of_blocks / 2)` to `+(number_of_blocks / 2)`,
    // so I calculate half the size of the list to use as an offset.
    const u8 half_size = block_list.max_size() / 2;
    const s8 adjusted_x_position = -half_size + sprite_index;

    // create a new block in the list
    block_list.push_back(                 // `push_back` is how we add a new item to the end of the list
        block_sprite_item.create_sprite(  // this is the function we called earlier to create a sprite pointer
            adjusted_x_position * 40,     // we multiply by 40 to space the blocks out nicely
            48                            // y position remains the same as before
        )
    );

    // To set the frame of the sprite we want to display,
    // we tell the sprite to use the tile at `sprite_index`
    block_list.at(sprite_index).set_tiles(
        block_sprite_item.tiles_item().create_tiles(sprite_index)
    );
}
Once you tun make and make run again, you should see all 5 Klotski block variations arranged in a row at the bottom of the screen.
Brief Intro to Game Loops#
We will be covering Game Loops in more detail in the next chapter, but for now, think of it like this:
// `while (condition)` is a loop that runs as long as `condition` is true
while (true) { // this loop will run forever because `true` is always true

    // Every time this runs, I will be referring to it as a "frame"
    // The GBA runs at slightly less than 60 frames per second (~59.7fps)
    // This means that this loop runs about 60 times every second

    bn::core::update(); // this function tells butano we are ready to render the frame
}
To manipulate our sprites over time, we will add code inside this loop. Let's try changing the position of each block to create a waving movement animation. The simplest way I know how to do this is to use a sine wave function. Replace your current while Game Loop with the following code:
// add these includes to the top of the file
#include "bn_math.h"
#include "bn_fixed.h"

// ... inside main() function ...

// Frames don't "know" about data defined in previous frames.
// This has to do with scopes, which we will cover in the next chapter as well.
// For now, just know we must define `wave` outside of the loop to keep track of its value.
bn::fixed wave = 0;

while (true) {
    // Loop through each block in the list
    for (u16 i = 0; i < block_list.size(); i++) {
        auto fit = block_list.at(i);                          // Get the sprite at position `i` in the list
        wave += bn::fixed(0.0025);                            // Increment the wave value slightly each frame
        const auto h = bn::sin(wave + (bn::fixed(0.05) * i)); // Calculate the sine value for this block
        fit.set_y(48 + (h * 5));                              // Set the y position based on the sine value
    }

    // Update Butano to render the frame
    bn::core::update();
}
Now with a little make & make run, you should see the blocks gently waving up and down at the bottom of the screen!
Manipulating Text Sprites#
You may notice the text that still says "Chapter 1" and "Getting Started" at the top of the screen. This is because we haven't modified the text sprites that were created in Chapter 1. Much like our list of block sprites, text is typically stored in a list of sprite pointers, where each character has a pointer in the list.
We can change the text by simply changing the value in the following strings:
bn::string<15> title_message_string = "Getting Started";
// ...
bn::vector<bn::sprite_ptr, 15> title_message_sprites;
// ...
bn::string<9> subtitle_message_string = "Chapter 1";
// ...
bn::vector<bn::sprite_ptr, 9> subtitle_message_sprites;
You may notice the 15 & 9 in the angle brackets (< & >). This indicates the maximum length of the string and the list of sprites. If you try to set a string longer than this length, you will get an error. You can increase these values if you want to use longer strings. The same applies to the list of sprite pointers for the text sprites. Keep in mind that the GBA has limited memory and a limited number of sprites that can be rendered (128), so using excessively long strings and lists will become problematic.
I will be changing the above lines to the following to reflect that we are now in Chapter 2:
bn::string<7> title_message_string = "Sprites"; // changed from 15 to 7
// ...
bn::vector<bn::sprite_ptr, 7> title_message_sprites; // changed from 15 to 7
// ...
bn::string<9> subtitle_message_string = "Chapter 2"; // changed from "Chapter 1" to "Chapter 2"
// ...
bn::vector<bn::sprite_ptr, 9> subtitle_message_sprites;
Conclusion#
Congratulations on completing this chapter! You have successfully created and imported a sprite into Butano, and manipulated it in various ways. In the next chapter, we will explore how to handle user input to move the blocks around the screen.
Chapter Overview#
- Introductions and Overview
- Setting Up Your Development Environment
- Sprites - you are here
Communities#
Discord#
- Please remember this is not my server, so do not dominate the conversation with questions about this series. The topics are more broad than this series or even Butano itself, so please be respectful of that.
- If you need help, the thing that helps everyone involved is providing your full source code, or if you are unwilling to do that, a "Minimally Reproducible Example" that demonstrates your issue. Not only might you find your problem along the way, but this is a good practice in general when asking for help with programming.
- Please be respectful to @GValiente, the author of Butano, as well as other volunteers who are volunteering their time to help you. You are not entitled to their time or labor. I have had people break this rule many times in many projects. This is a hobby for everyone involved.
- Please search the channels for your question before asking it. Chances are, someone else has had the same question before you.
- Follow the server rules.
![]()
Reddit#
r/Homebrew - A general homebrew community for all consoles. r/RetroGameDev - A community for retro game development, including homebrew.
BSky#
@Bread.Codes - My Bluesky profile. Many of the people I follow are into homebrew and retro game development.
Support the Community#
Want there to be Jams? Want more resources, tutorials, and tools? Support the community by donating to the OpenCollective for GBADev! Your donations help fund events like GBAGameJam and support the work of volunteers who create tools and resources for the community.
Support the Series#
License#
This series is licensed under a Creative Commons Attribution-NonCommercial 4.0 International License.
The purpose of this license is to allow you to share this series freely, as long as you attribute BreadCodes as the original author, and do not commercialize the content through paid courses, books, or other means.
The project repository for this series is almost entirely licensed under the same license. The exception is chapter-1-getting-started/LICENSE, which is licensed under the MIT License to allow for more flexibility when using the starter code for your own projects. This project uses 3rd party assets which may have different licenses; please refer to the LICENSE file in that directory for more information.
Additional Information#
You can find this project's repository on CodeBerg, and on GitHub (mirrored).